I have been avoiding this part of the build for quite a while. Time is up.
To get my self prepped up for the task ahead I logged onto my favorite educational website Off Center Harbor, http://www.offcenterharbor.com. They are a subscription based website that is about wooden boats in all forms and are worth checking out. They have one of the biggest libraries of professionally edited how-to videos on the web and tons of pictures and articles to keep you busy. Geoff Kerr has a whole series on building plywood lapstrake boats that includes a wonderful tutorial on solid and hollow spar making. Geoff takes you step by step through the whole process much better than I could ever do. I’ll take you through the rough steps but if you are building your own spar for the first time I would pay the money and check out Off Center Harbor, you will be glad you did.
The mizzen mast seemed the best place to start so pulled the douglas fir off of the lumber rack and built up my blank in the normal way.


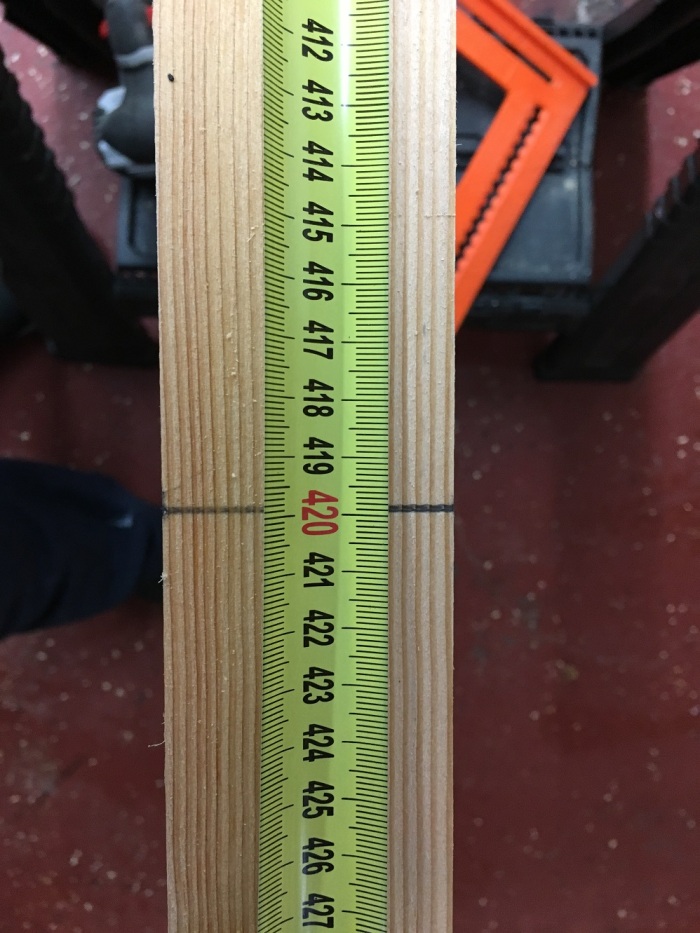
I made the blank super long so I could find the section I liked the most and trim it to length. Fortunately it all came out pretty good with no voids or defect that I could see. Next step was measure twice and cut once.
Mr. Welsford calls out for aluminum tube masts in his plans, 3″ for the main and 2″ for the mizzen. These sizes make really skinny wooden masts but I wanted to keep them as close to designed diameter as I could. I cut the blank for the mizzen to 2 1/8″ to give myself a little wiggle room. A big difference between wooden masts and aluminum masts is a taper on the end. Woodend masts traditionally have a slight taper to them to replicate masts made from whole trees. Since the mizzen mast is already skinny I didn’t want to remove any more material than I had to. In the end I tapered the square section mast from 2 1/8″ to 1 1/2″ on the top third of the mast.
One tip that helps is marking out thick bands with a pencil at regular intervals on the mast.
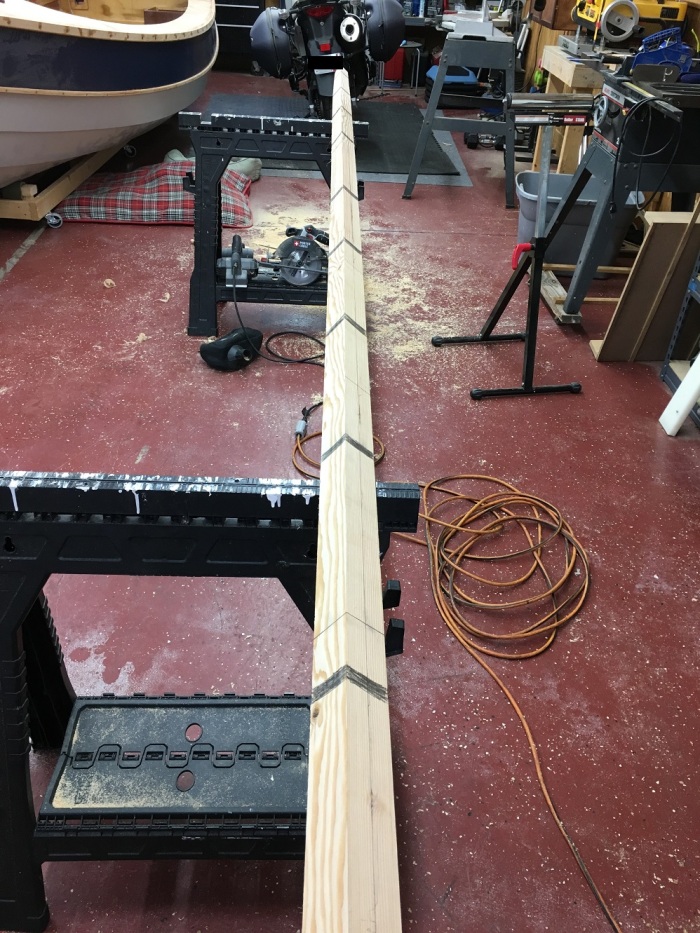 These bands help with the next step. Making 4 sides into 8.
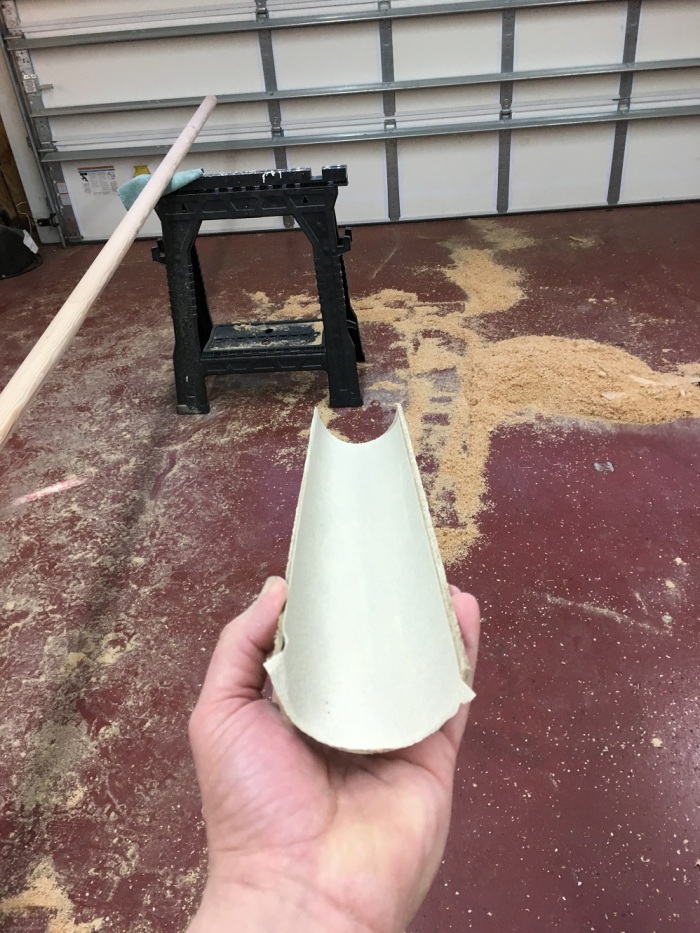
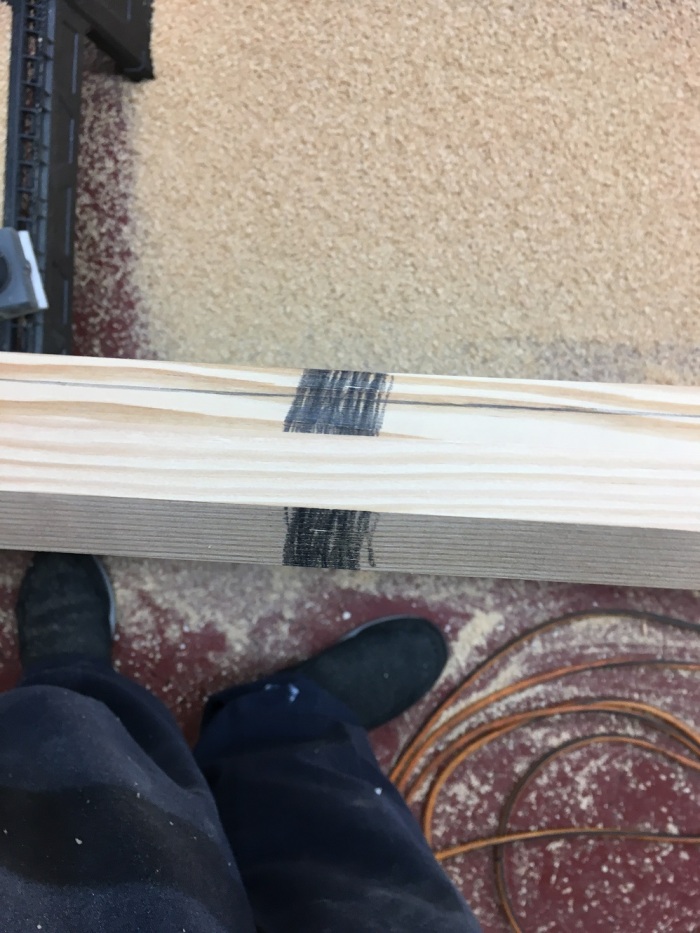 With the power planer I went around the mast cutting off the corners evenly from front to back until I had a reasonably eight sided mast. You can see from the picture above that the black bands really help you keep track of where and how much you have sanded. Once the mast was at eight sides I re-drew the bands and took the mast to 16 sides with the power planer. At 16 sides I re-drew the bands and switched to the shoulder plane to get to 32 sides. I am sure a professional could continue with the plane to get the mast to 64 sides but I do not have the skill. From here I switched to a cardboard shipping tube with sandpaper inside. 36, 60, 80, and finally 120 grit.


Reasonably round and straight, not too shabby. In Geoff Kerr’s video he makes a point to say that fairing a mast is an aerobic activity. He isn’t kidding. My hands hurt for days.
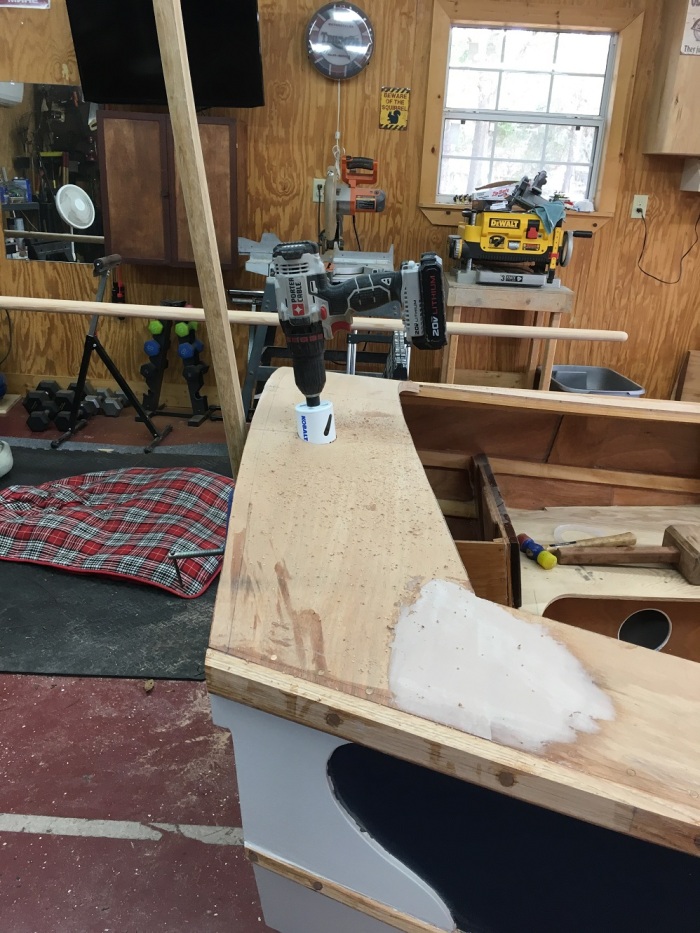
Now that the mast was sort of done I had to fit it to the boat. The decking on the transom where the mast passes through gets built up quite a bit to take the load of the mast. I deviated just a little and built the whole area up with two extra layers of 1/4″ plywood. After it was built up I marked it and trimmed it to shape.


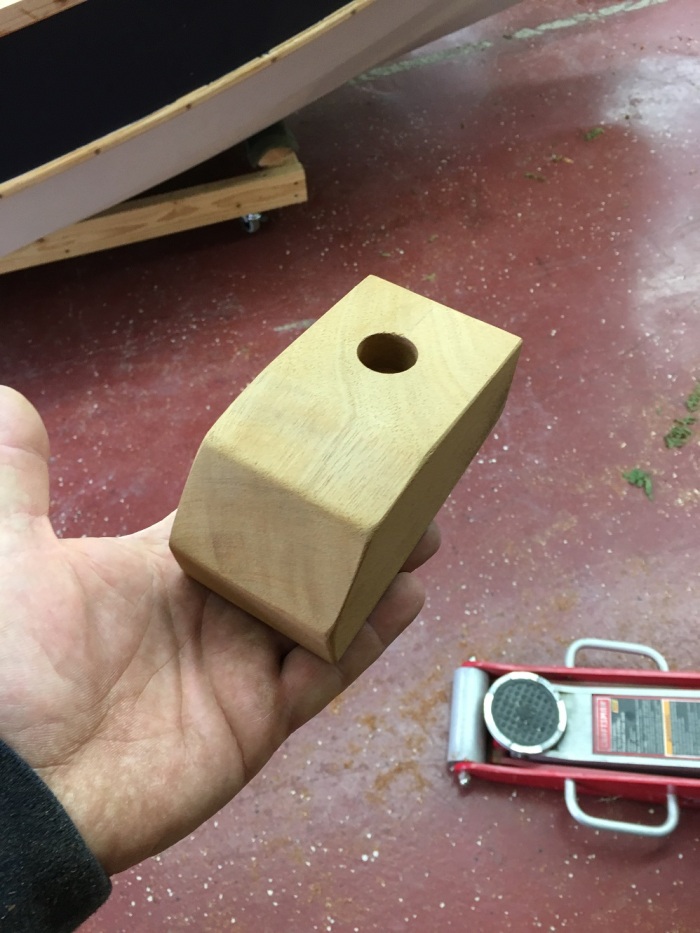
While that was setting up I made the mast step out of mahogany.
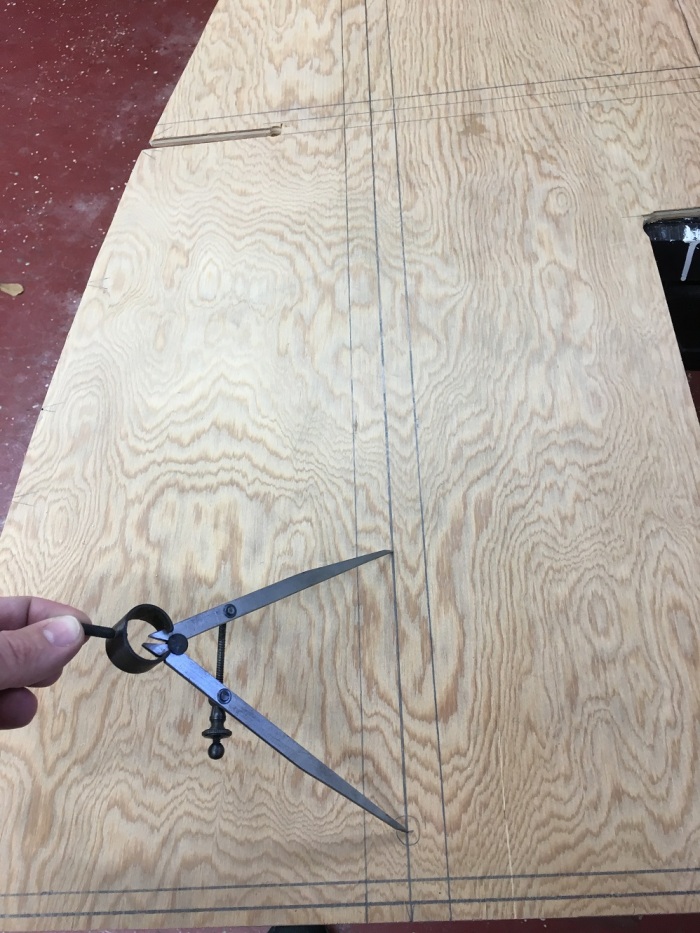
I’ll cover the leveling and layout of all of the mast holes, coaming lines, etc. in the next post. It wasn’t hard but there is a lot to go into and this is turning out to be a long post so I’ll hit it later. Drilling the hole for the mast was pretty easy, I lined up the drill with a scrap of wood attached to the transom and rammed her home.
The last step of the process was lining up the mast step and securing it to the bottom of the boat. Since the mast has a little lean to it the best way to line it up was with a MK1 eyeball. I poked the stern out, mounted the mast, and then moved the mast step around until the lovely bride and Editor in Chief said it was straight up and down.
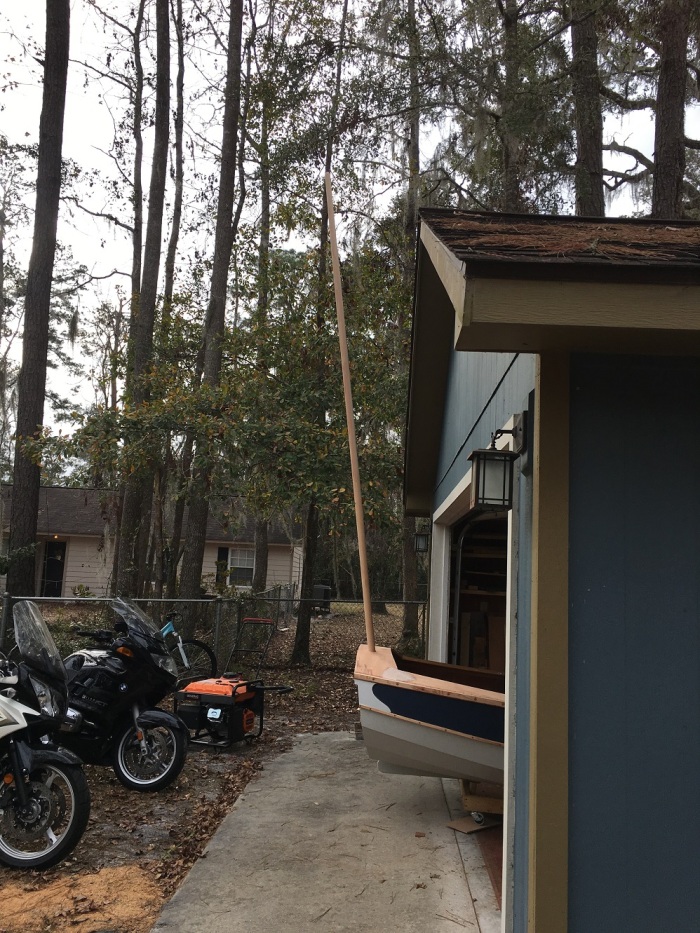
Whoo hoo there it is! It was a ton of work but I think it was worth it. Because it was so skinny the mast has a little more flex to it than I would like so I plan on sleeving the whole thing in fiberglass to stiffen it up a little. I have to admit I am glad Cheryl talked me into the wooden mast.


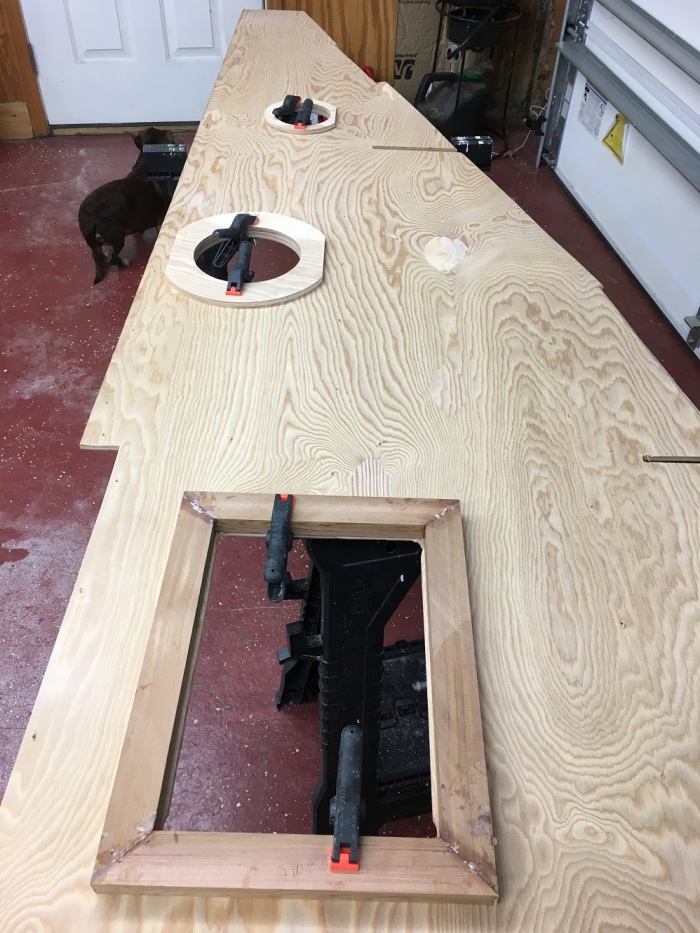
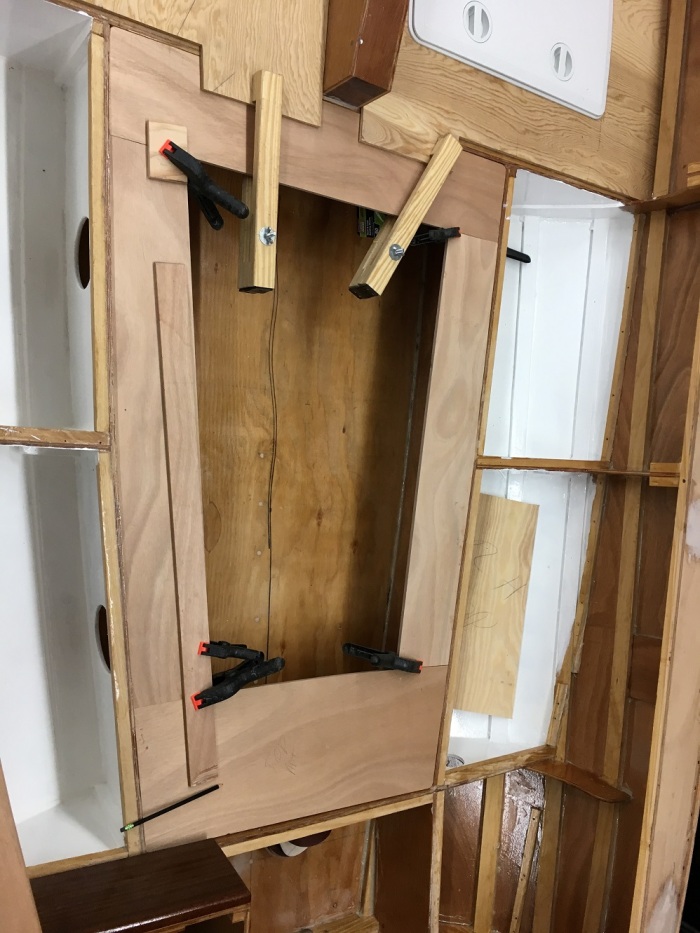
 With the hatches cut and underlying structure marked out I laid out my screw pattern, pre-drilled and countersunk.
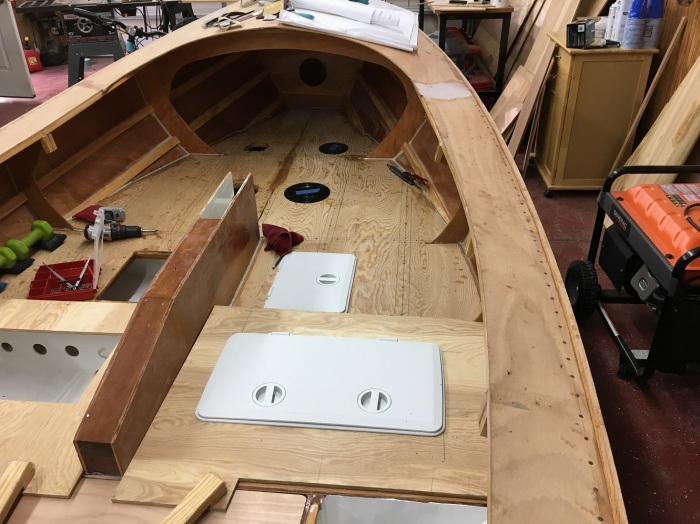 A bunch of glue and a bunch of screws later there it is. I decided a while ago to go back to A/B marine fir for the floor boards and seats because it seems a little tougher than okoume to me and I can get it locally at Langs Building Supplies. The disadvantage of the fir plywood is a fairly healthy bow in all of the panels that I get. To prevent the epoxy from permanently setting the bow in the plywood, I simultaneously sealed the bottom of the plywood, glued the doublers on, and attached the boards to the boat. This was a ton of glue to be working at one time and the only way I was able to get away with it was the temperature.
 That isn’t something you see every day! Thanks to the ice storm that rolled into South Georgia I was able to work with full solo cups of epoxy without it overheating and kicking. It was a heck of a mess but it seemed to work out well. The last part was to make the doublers for the seats.