For those of you that think that the Idle Hands Workshop stays pretty clean all of the time, here is a picture to prove you wrong. I am now in the heat of battle beveling the stringers to accept the planks that will come next. Keeping with my tradition of shamelessly stealing good ideas and putting them to use in my shop I pulled out my crappiest hand plane and modified like I had seen in Wooden Boat magazine.
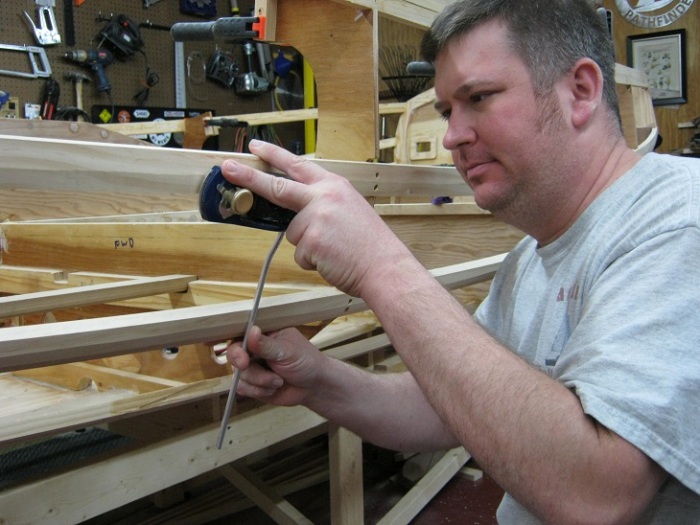
I took the plane to the drill press and drilled a 1/4″ hole through the side and then added an aluminum rod that had been bent so it was parallel to the sole of the plane. This way I could rest the rod on the upper or lower stringer and then plane away.


These bevels are the point where the plywood planks are joining together and forming the watertight hull of the boat. I will be sailing offshore, beaching on small islands, and possibly dealing with rough weather so I want these joints to be as close to perfect as I can get. It turns out that the hand plane idea works really well as long as you keep the plane sharp. To finish the joint, I have a 1 x 6″ board that I have glued some 60 grit sandpaper to and I use it to lap the joint for a perfect fit.
All of this has worked really well for the four stringers; better than I had hoped really. The one piece that is causing my trouble is the chine stringer. It seems that this one piece of the puzzle continues to give me a hard time. If you have been following the blog from the start you get the joke. If not go back a couple of months and read Steam Punk and Steam Punked.
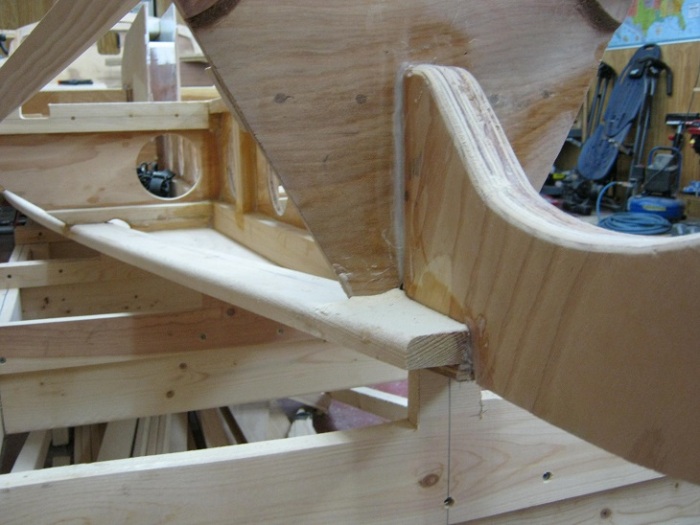
The chine stringer looks like this. Its the lowest most attachment for the planks and a constantly changing rolling bevel. You can see comparing this picture to the one below that there is a lot of material that you have to remove.
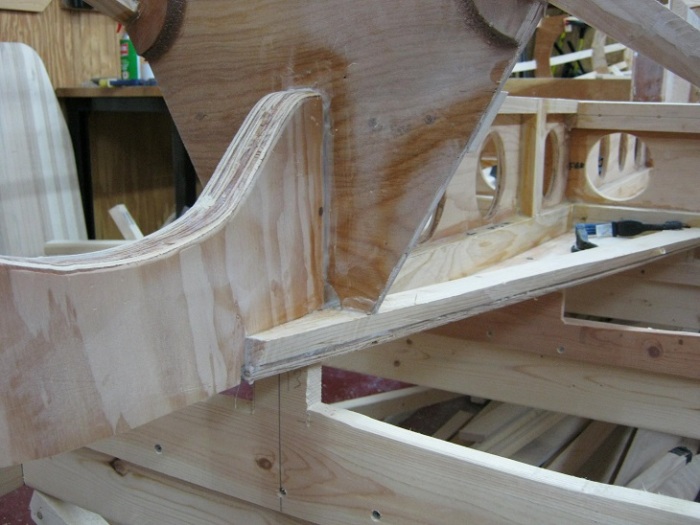
I am still looking for a good way to make this cut. The hand plane will work for cleaning up the bevel but it would take a year to cut off that much material with it. In some areas I can use my belt sander and my eyeball to get it close. The problem with that is the build stand gets in the way of the belt sander more often then not. Option three is the trusty angle grinder with a 50 grit wheel. This is the fastest and most dangerous option. The size of the grinder lets me access all areas but when I use it I am always on the edge of disaster. It’s so aggressive if I loose focus for a split second I will destroy the joint and spent the next month fixing it. If anyone out there has any ideas please let me know because I am out of them.
