Now that the pathfinder is right side up, it’s time to finish the interior of the boat. The next step in the build for me (I have long since deviated from the build schedule provided with the plans) was to fit the bunk flats and seat tops. I had a few items below decks that needed attention first.
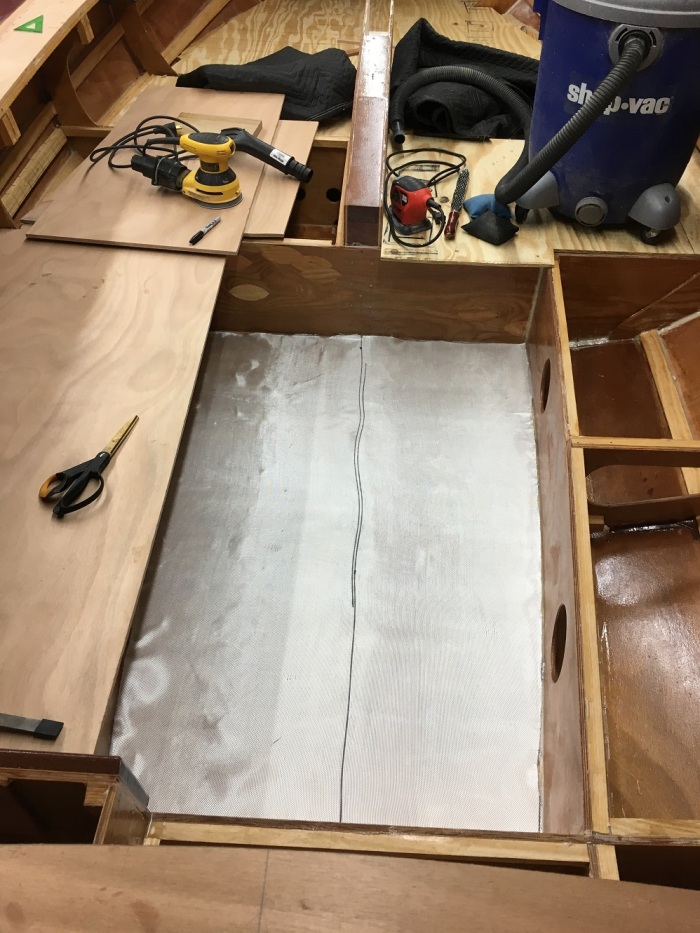
During this whole process I am incorporating a lot of the changes suggested/learned from Peter out in Texas. One of those is to glass all of the high wear areas on the bottom. Footwells and below deck areas all received a coat of glass.
I also corrected a few small mistakes that had cropped up during the build. I like to think of this mistake as “structural reinforcement”.
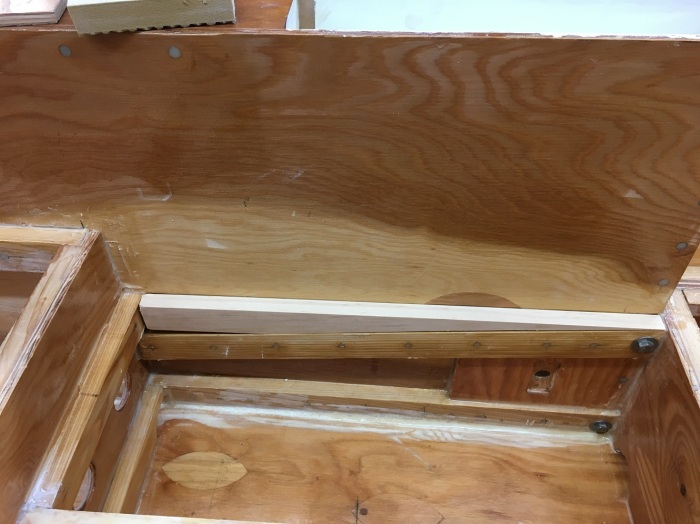
The last item on the below decks list was to beef up the mast step.

This is the original mast step for the pathfinder. This point takes a big load, not because of the mast but because the hoist point for the center board attaches here. Unless the board is all the way down most of its 100 or so pounds will be yanking on the mast step that is screwed in to this block. Because of that I decided to give myself a little more to attach to.
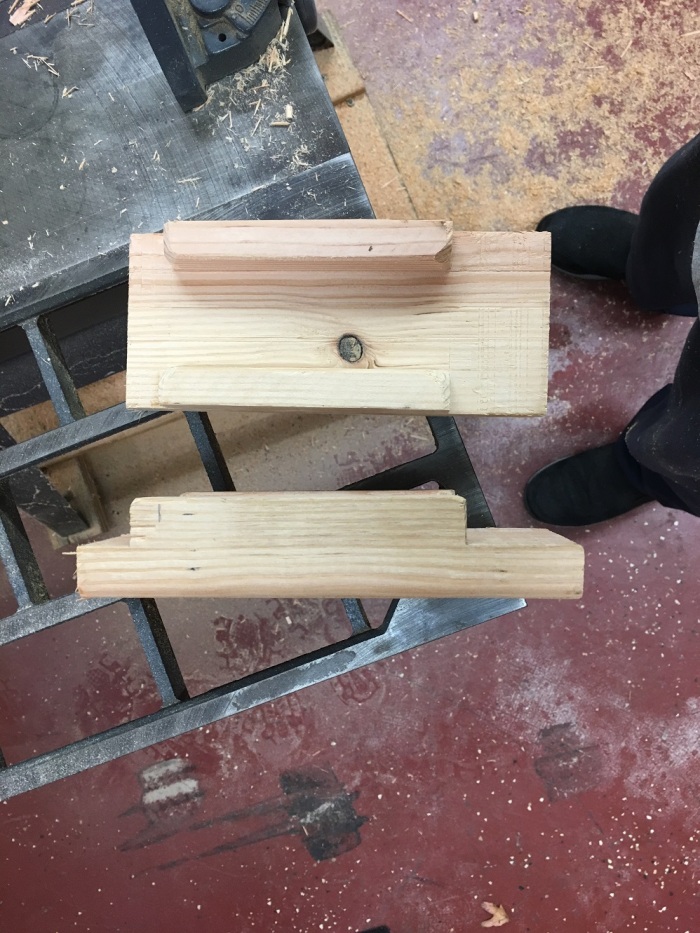
I carved up a douglas fir 4X4 on the table saw and glued it up.
With all of my changes and reinforcements made, I returned to the most hated part of a build – sanding and painting. Two more coats of resin were rolled on below decks and then sanded to 120 grit. White BilgeKote enamel was slopped on top of that. I have spent enough time talking about sanding and painting, on to better things.


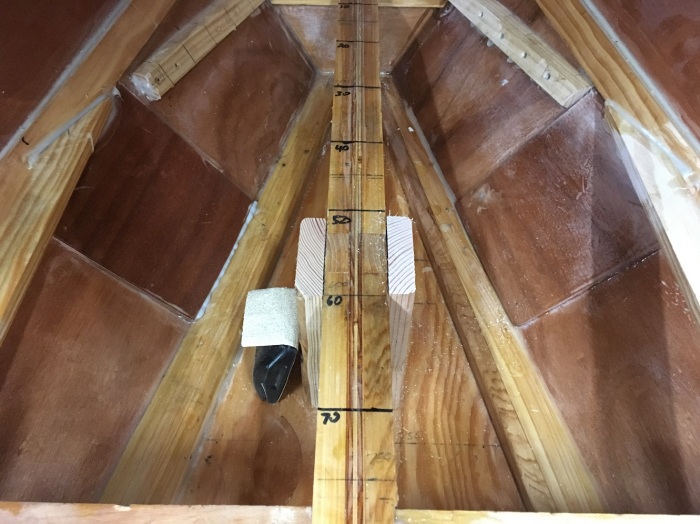
Like a Joggle Stick!
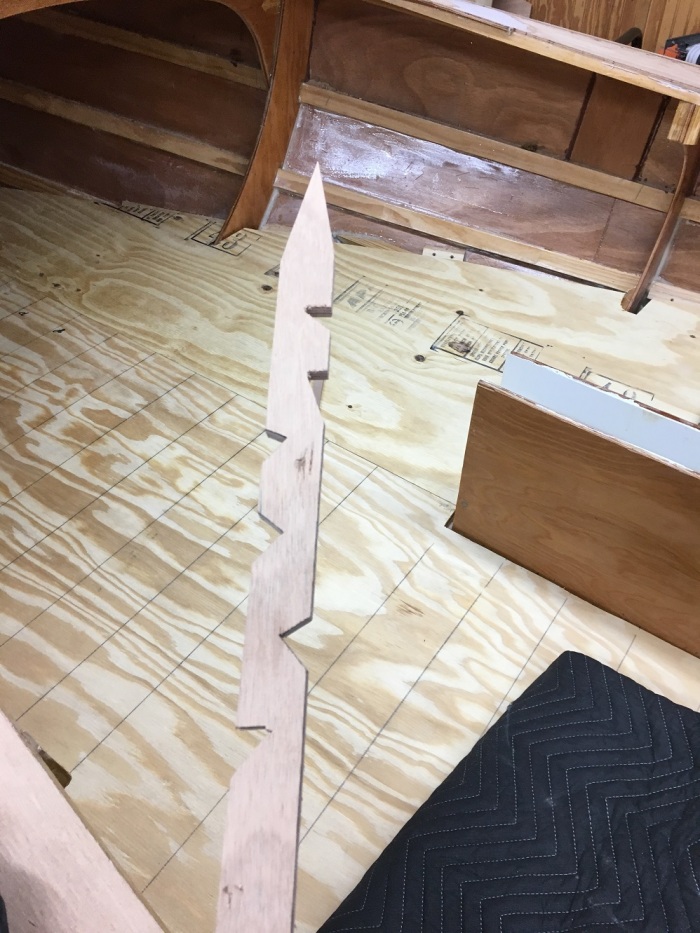
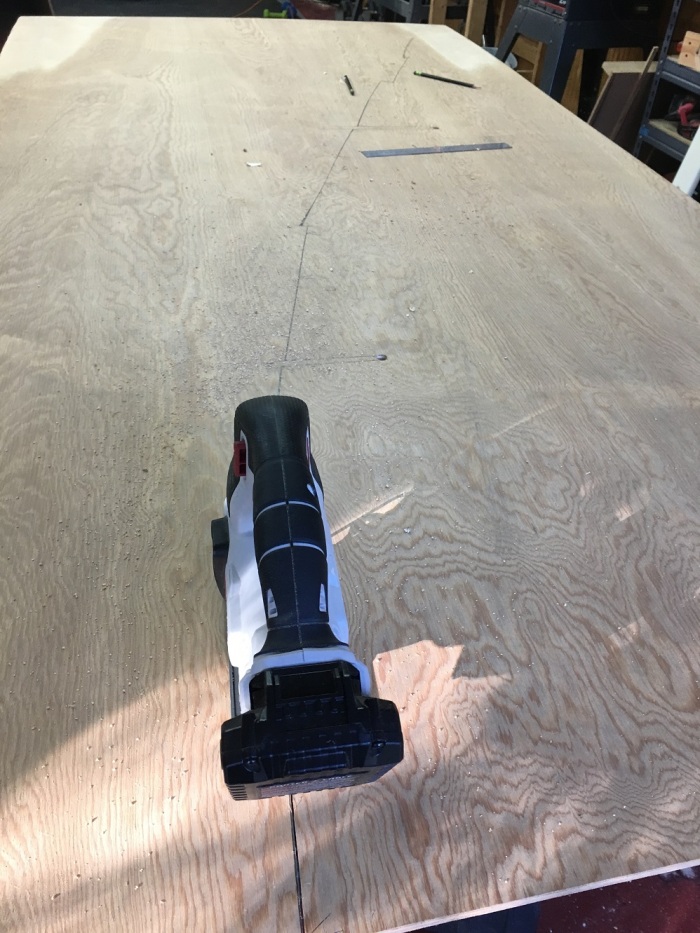
This is my new best friend. Over the summer I spent a lot of time reading “How to Build a Wooden Boat” by Bud McIntosh (a little late I know) and it taught me the joys of this little tool. Like most good tools it is ridiculously simple and easy to use. I started with rough cutting some CDX plywood and laying it in place.
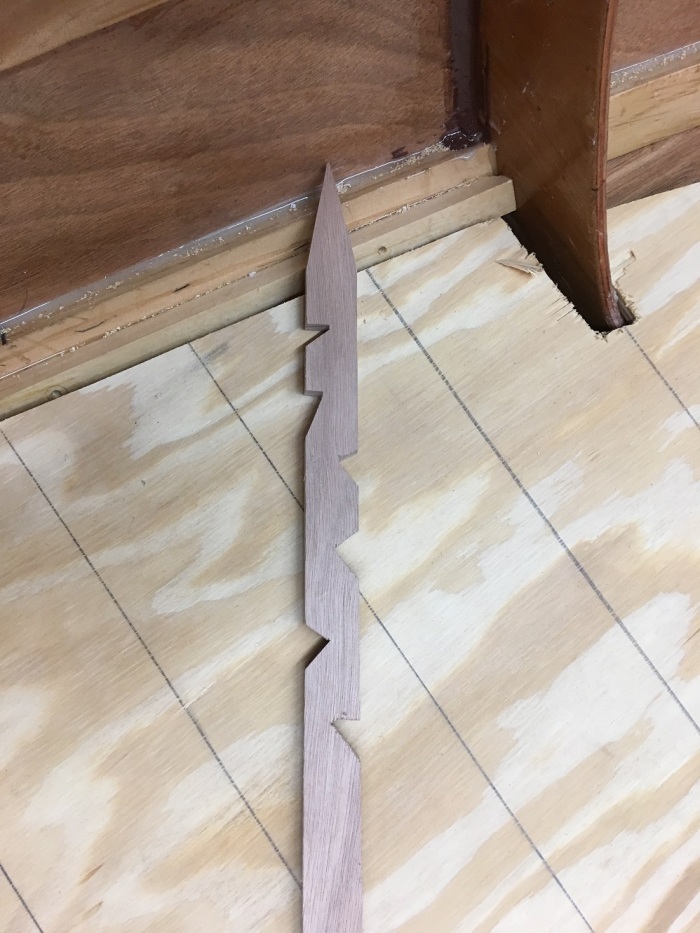
At several points you place the stick where the edge of your floor plank will be and then trace the outline of the joggle stick. Once you have enough points you take the cheap plywood and lay it on the expensive ply.
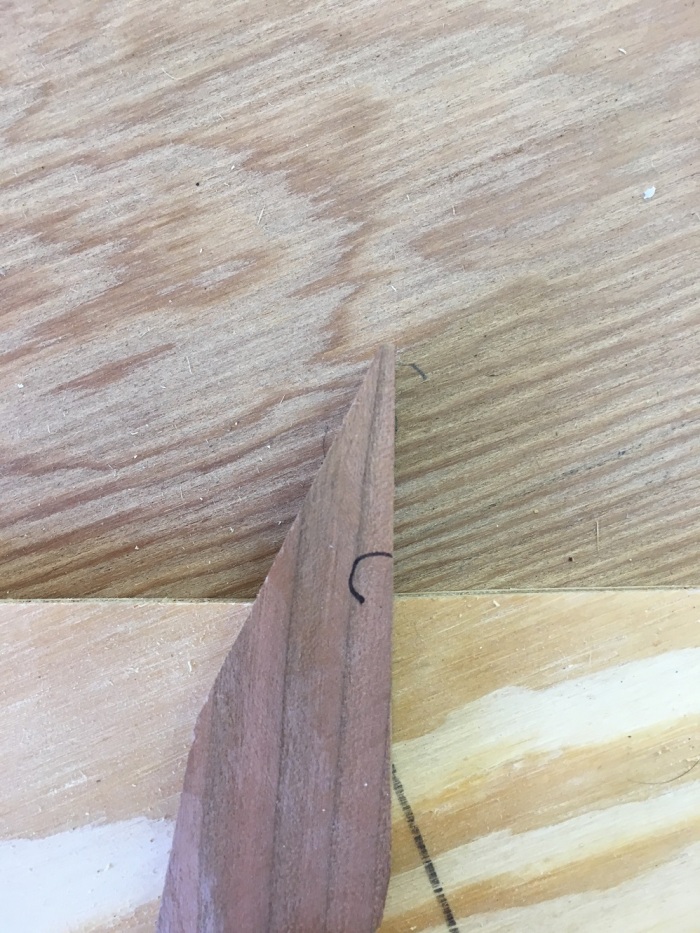
Next you line up the stick with the tracings and mark the point on the marine ply. Once you get enough points the outline appears.
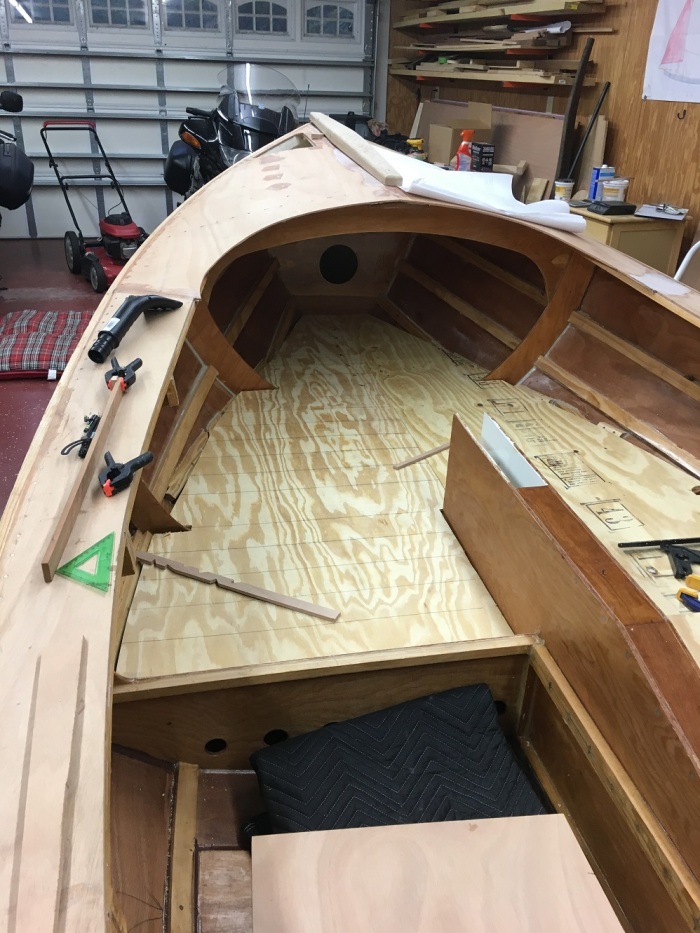
A little fitting with the Shinto rasp and they fit like a glove. With the bunk flat boards in place it was time for a family test nap.
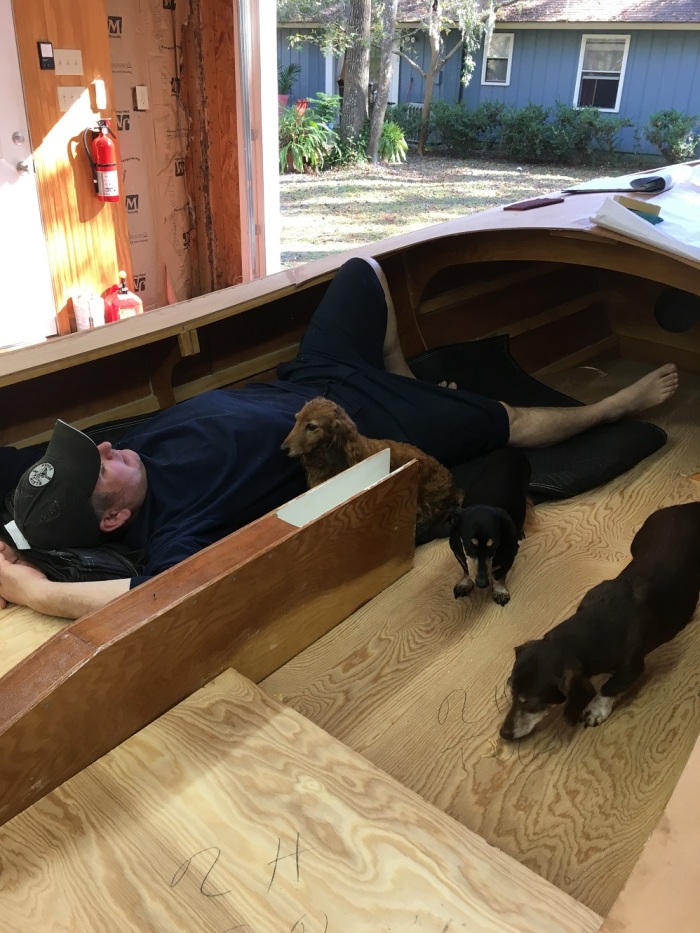
The real size of this boat is becoming more apparent every day. I am a big boy, 6’1″/230 and there is plenty of room for me and three wieners on the bunk flats. You can look at plans all day long and even make traces on the floor but until you see it in real life you cannot visualize just how big a Welsford Pathfinder is.
In the next post it’s on to seat tops and cutting access hatches. Until then stay warm and Merry Christmas.
