One thing I have noticed over the years is that most build logs, whether they be for aircraft or boats, only show the successes and never the failures. No matter how good you are at your chosen hobby/profession there will be times when you screw something up. Being a newbie woodworker and boat builder, my list of screw-ups is longer than most. I have no problem pointing out my errors in the hope that just one of you out there can learn from my mistakes. So here they are in no particular order, enjoy!
#1: Funky Glue Joints
This is what I’m looking for when I glue up a joint – an even glue line and enough squeeze out to make a nice neat fillet. In theory, it’s easy with two flat pieces of wood and all of my clamps. In practice, I have had my troubles. It seems that no matter how many clamps, boat nails, or screws I use there are just some pieces that will not glue up the way I want them. The picture below is a shot of the bunk flat stringer on the side of the center case. You can see that there is a lot of glue missing from this joint. The main culprit in this case is glue that was too thin. I have been using MAS epoxy with Cello Fill for all of my structural joints. In this case I mixed it too thin so when I nailed the stringer to the plywood panel the glue ran out. Other times I haven’t had enough pressure on the joint to force it together. That particular piece went into the burn pile.

For me the best solution has been to back drill through the plywood, counter sink, and secure the stringers with stainless steel screws. A rough paint shop picture is below. I make sure that I countersink the screws deep enough so I can fill them later. I used this method on the transom and everything came out great.
#2: Use Your Damn Square!
It’s a two millimeter bow in frame three. I know it’s not much but it could have been prevented with one of the three speed squares I have laying around the Idle Hands workshop, one of which I had to move out of the way to glue this frame in place. It will never affect the seaworthiness of the boat but I will always know it’s there. Enough said.
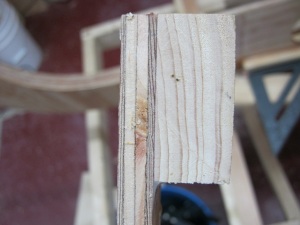
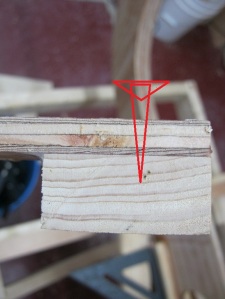
#3: Measure Twice, Then Fit in Place Later
If I had to start fresh tomorrow, the biggest thing I would do differently would be fit the 20 x 45 and 20 x 20 solid wood stringers in place instead of gluing them to the frames from the start. I have found that because of the curve in the bottom of the boat the frames need to be planed so that the frames stand up correctly. I found out building the transom its easier to duplicate the angle on your table saw and cut it into the bottom stringer. That way when you glue down the frame it stands up correctly and makes a nice tight glue joint. The other major reason is this:
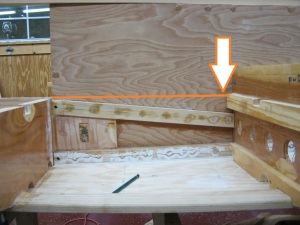
Yup, the top stringer is supposed to line up as shown with the orange line. I measured twice. Really I did. I promise. I was sober. I promise.
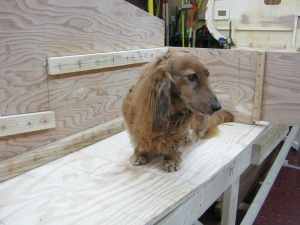
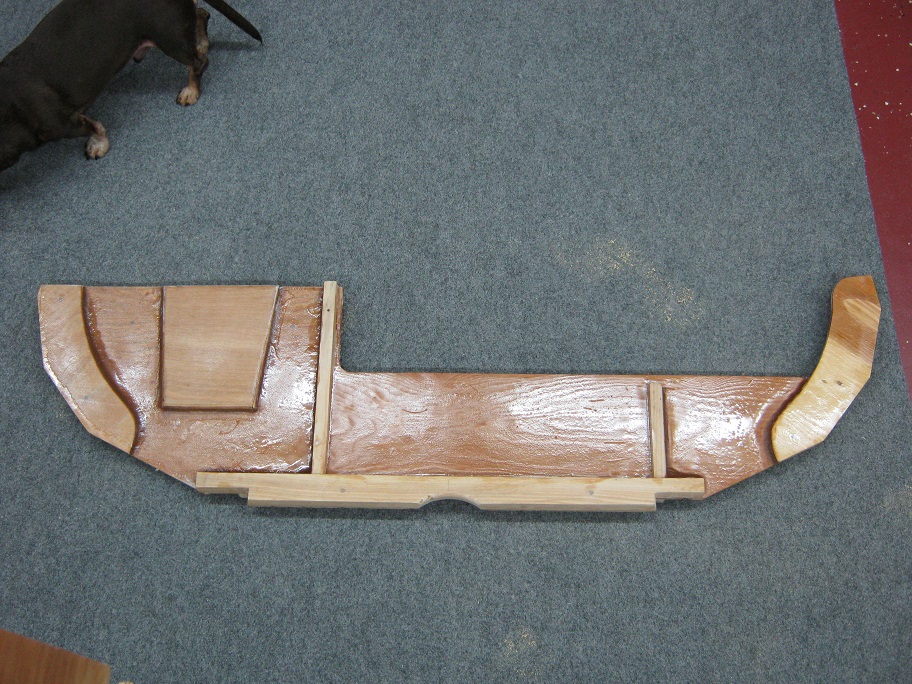
Sammy the shop dog was not impressed.
This is the short list of things that have bit me over the last several months. I know it’s all part of learning a new skill but I sure would have liked to learn from someone else’s mistakes!